Playlists and DJ imports
Start with a normal playlist. Sharing it with another hub is optional and uses a separate collaboration flow.
Create and edit a playlist
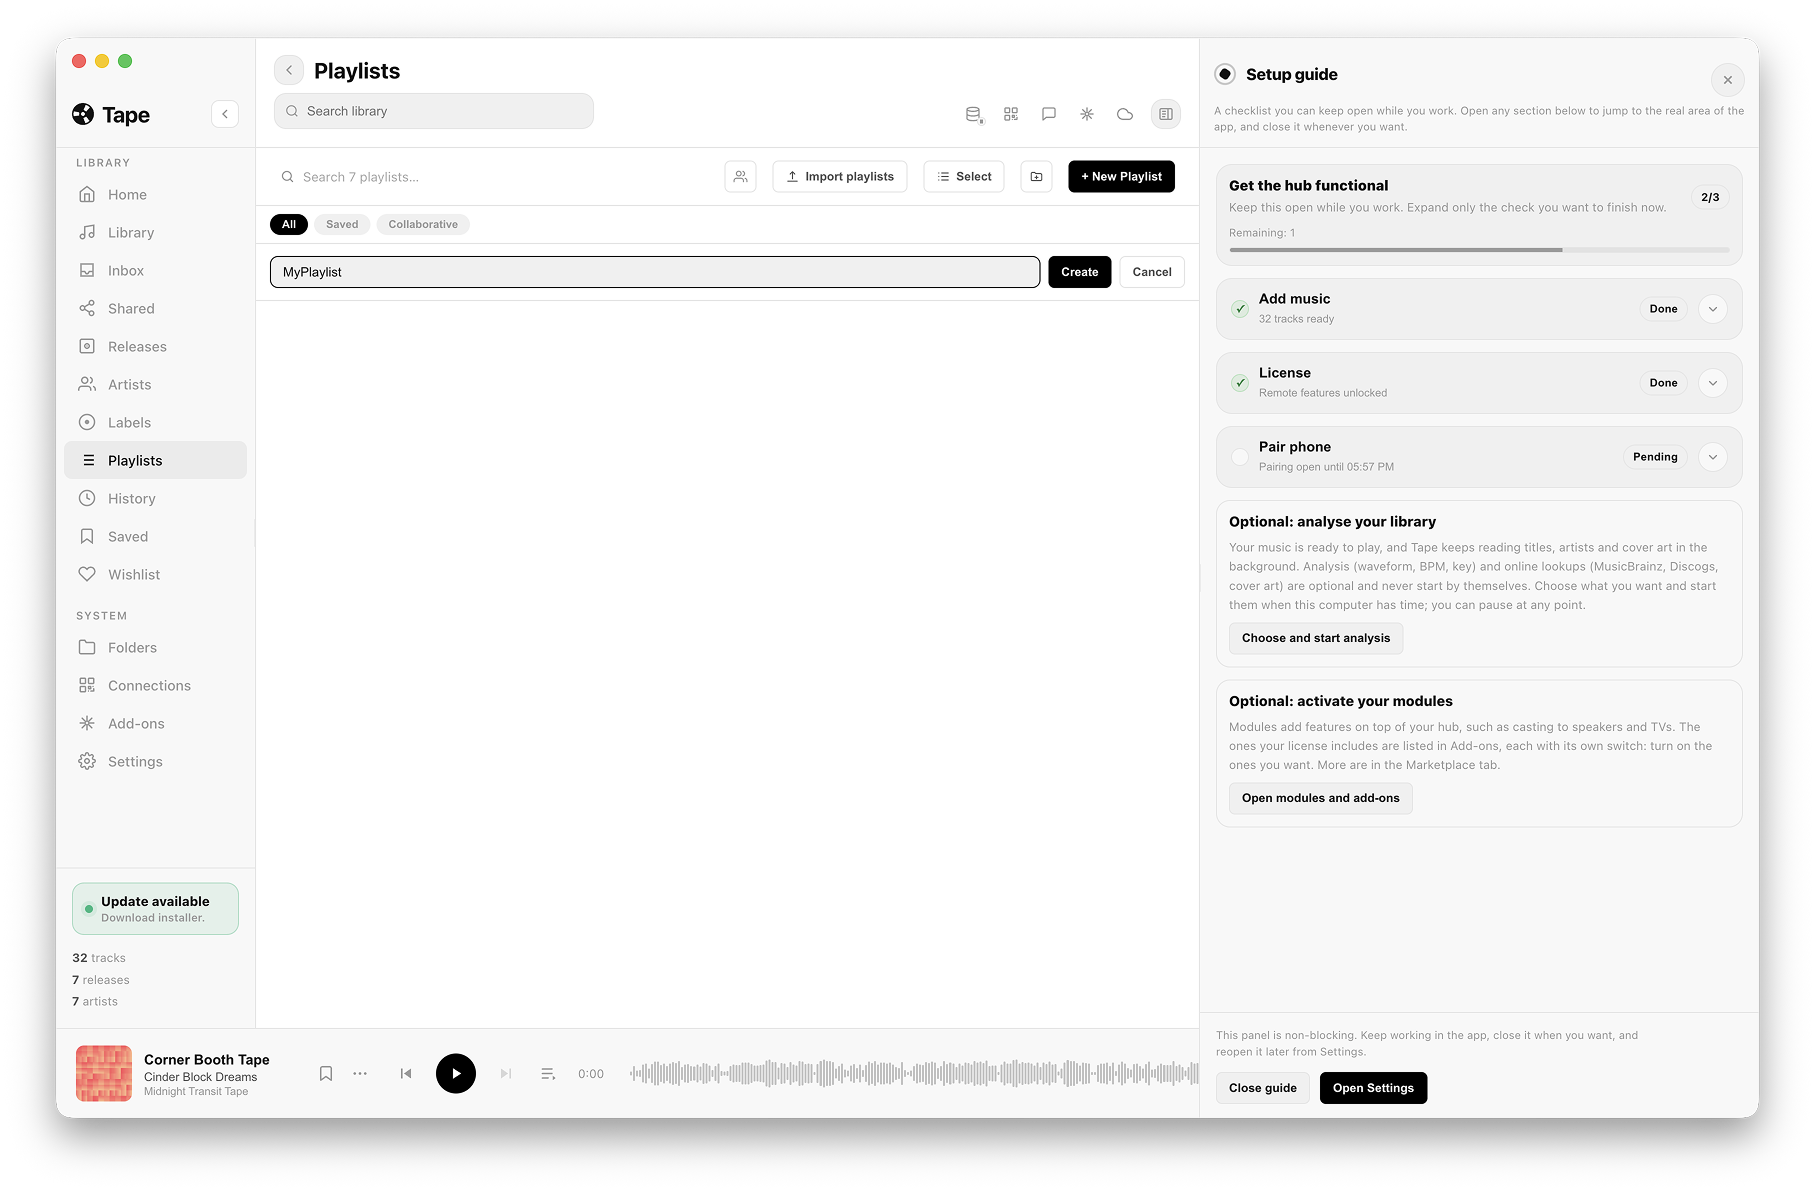
- Open Playlists on Desktop and choose New playlist. In a narrow sidebar this may appear as a plus icon with that label.
- Enter a name and choose Create. This can appear as an inline field above the list.
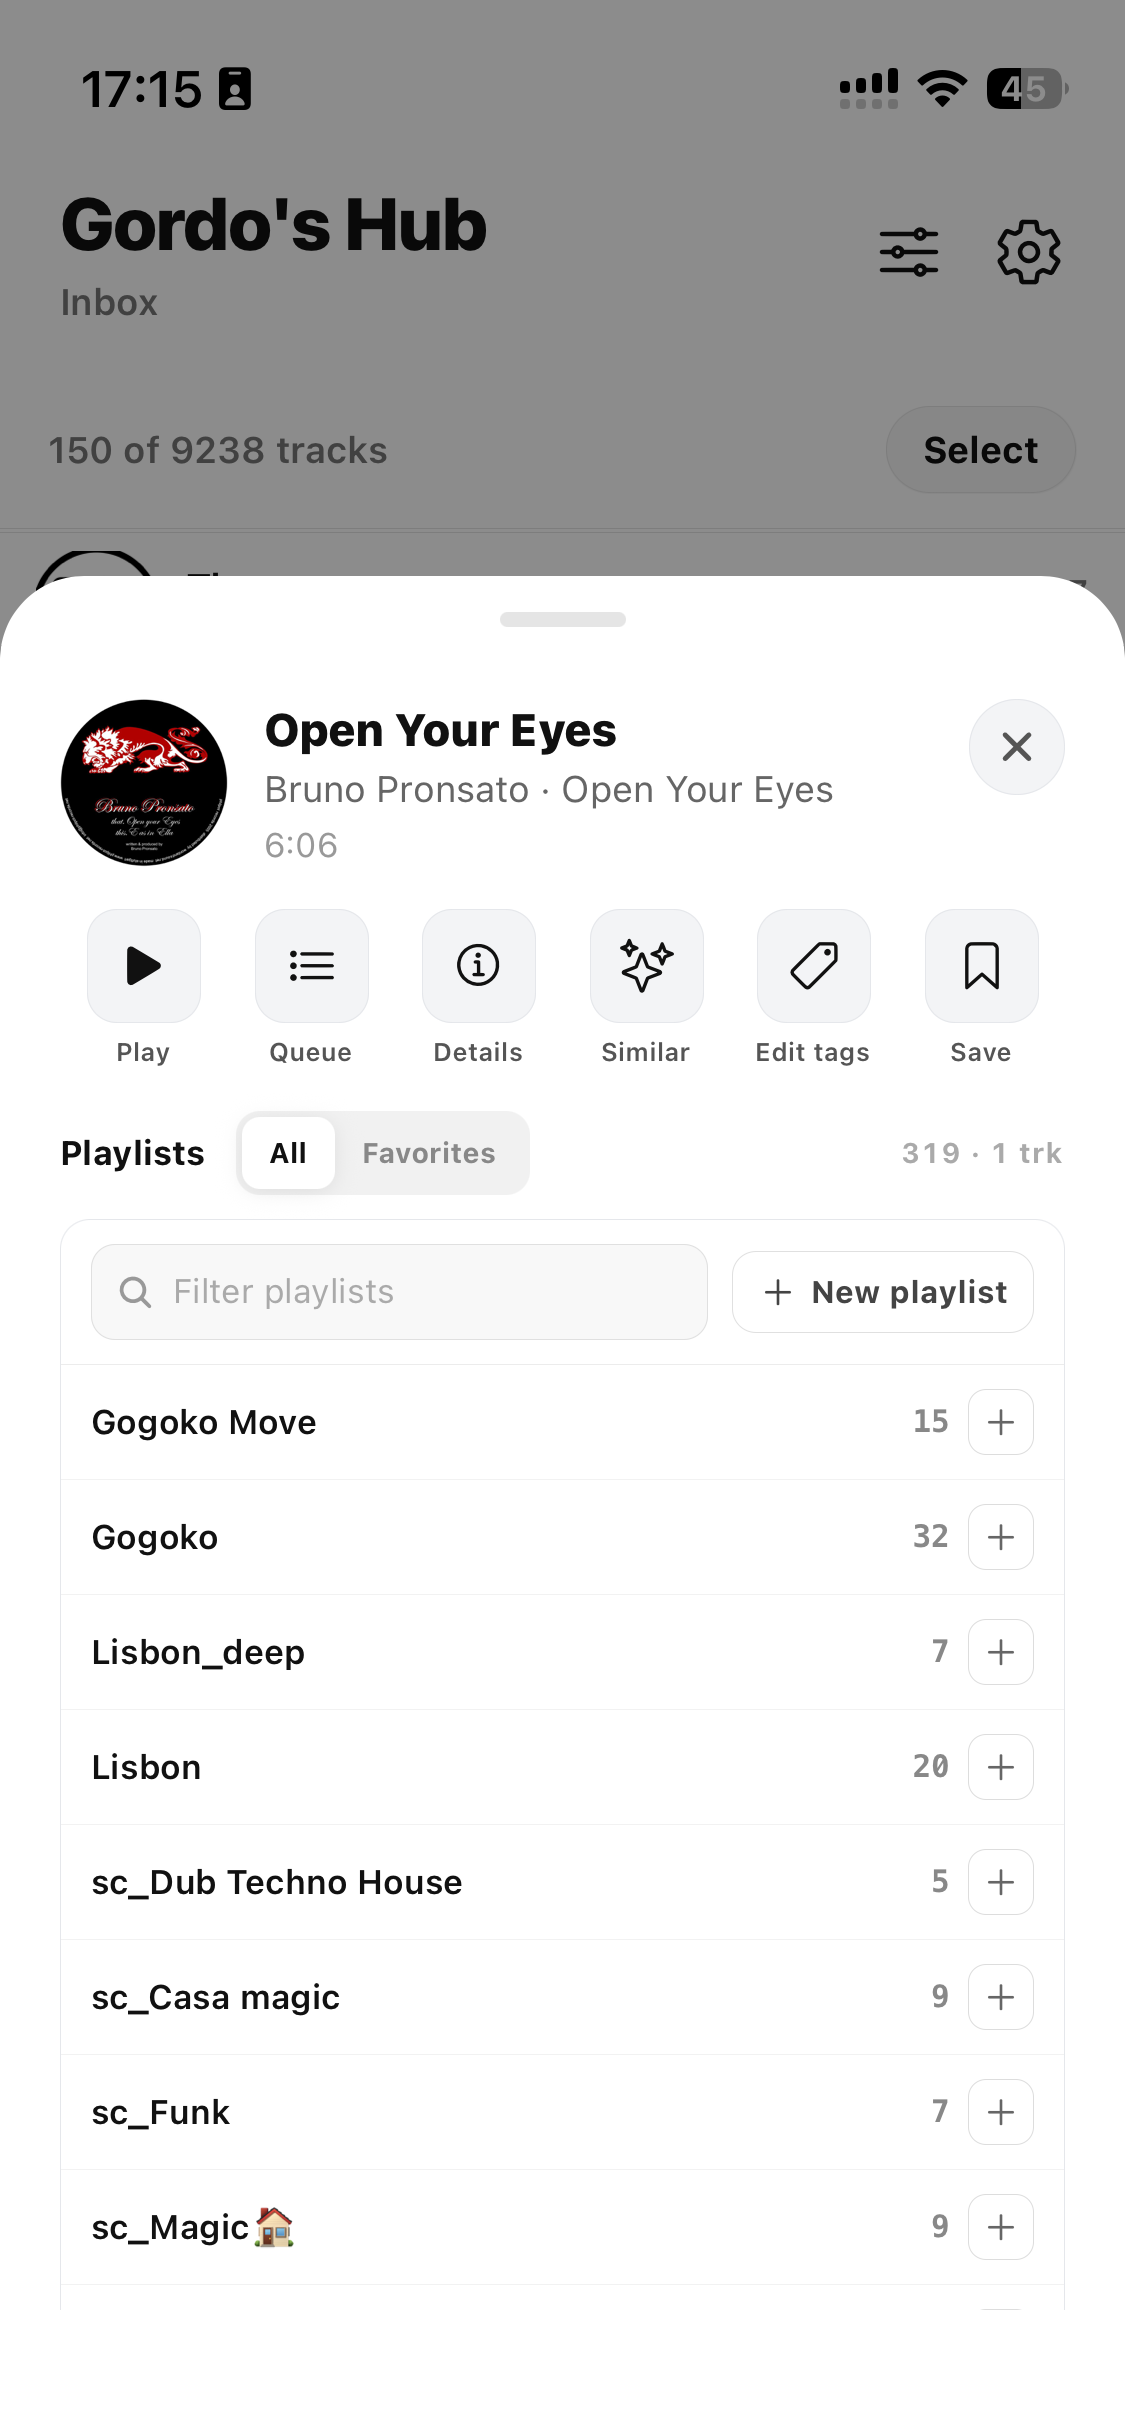
- From Library or a track menu, choose Add to playlist and select the playlist.
- Open the playlist and check the added tracks. Drag its track rows to change their order where the reorder control is available.
Removing a track from a playlist removes that membership. It does not mean deleting the audio file. Deleting a playlist and deleting files are separate actions: read the confirmation before proceeding.
A playlist's saved/bookmarked state makes it easier to find later; it does not copy its tracks for offline use.
Notes for a track or a playlist
A note created from the track detail view belongs to the track wherever it appears. A note created for the track inside a playlist belongs to that playlist context. Use playlist notes for set-specific reminders and track notes for facts you want to keep everywhere.
Import and relocate
- Export or locate the local playlist/library file from your other application.
- On Desktop choose Import playlists, or Add music → Playlists from another app.
- Choose the source and file, then review the folders Tape proposes to add.
- Wait for import and open a known playlist to check its contents.
| Source | Input |
|---|---|
| Rekordbox | XML export |
| Traktor | NML collection |
| Apple Music / iTunes | Local library XML export |
| Serato | Local crates and smart crates |
| Other players | M3U, M3U8 or XSPF |
An imported playlist refers to music files. It does not download streaming-catalog tracks or transfer a subscription library. If the export contains paths from another machine, those files must be accessible to your hub.
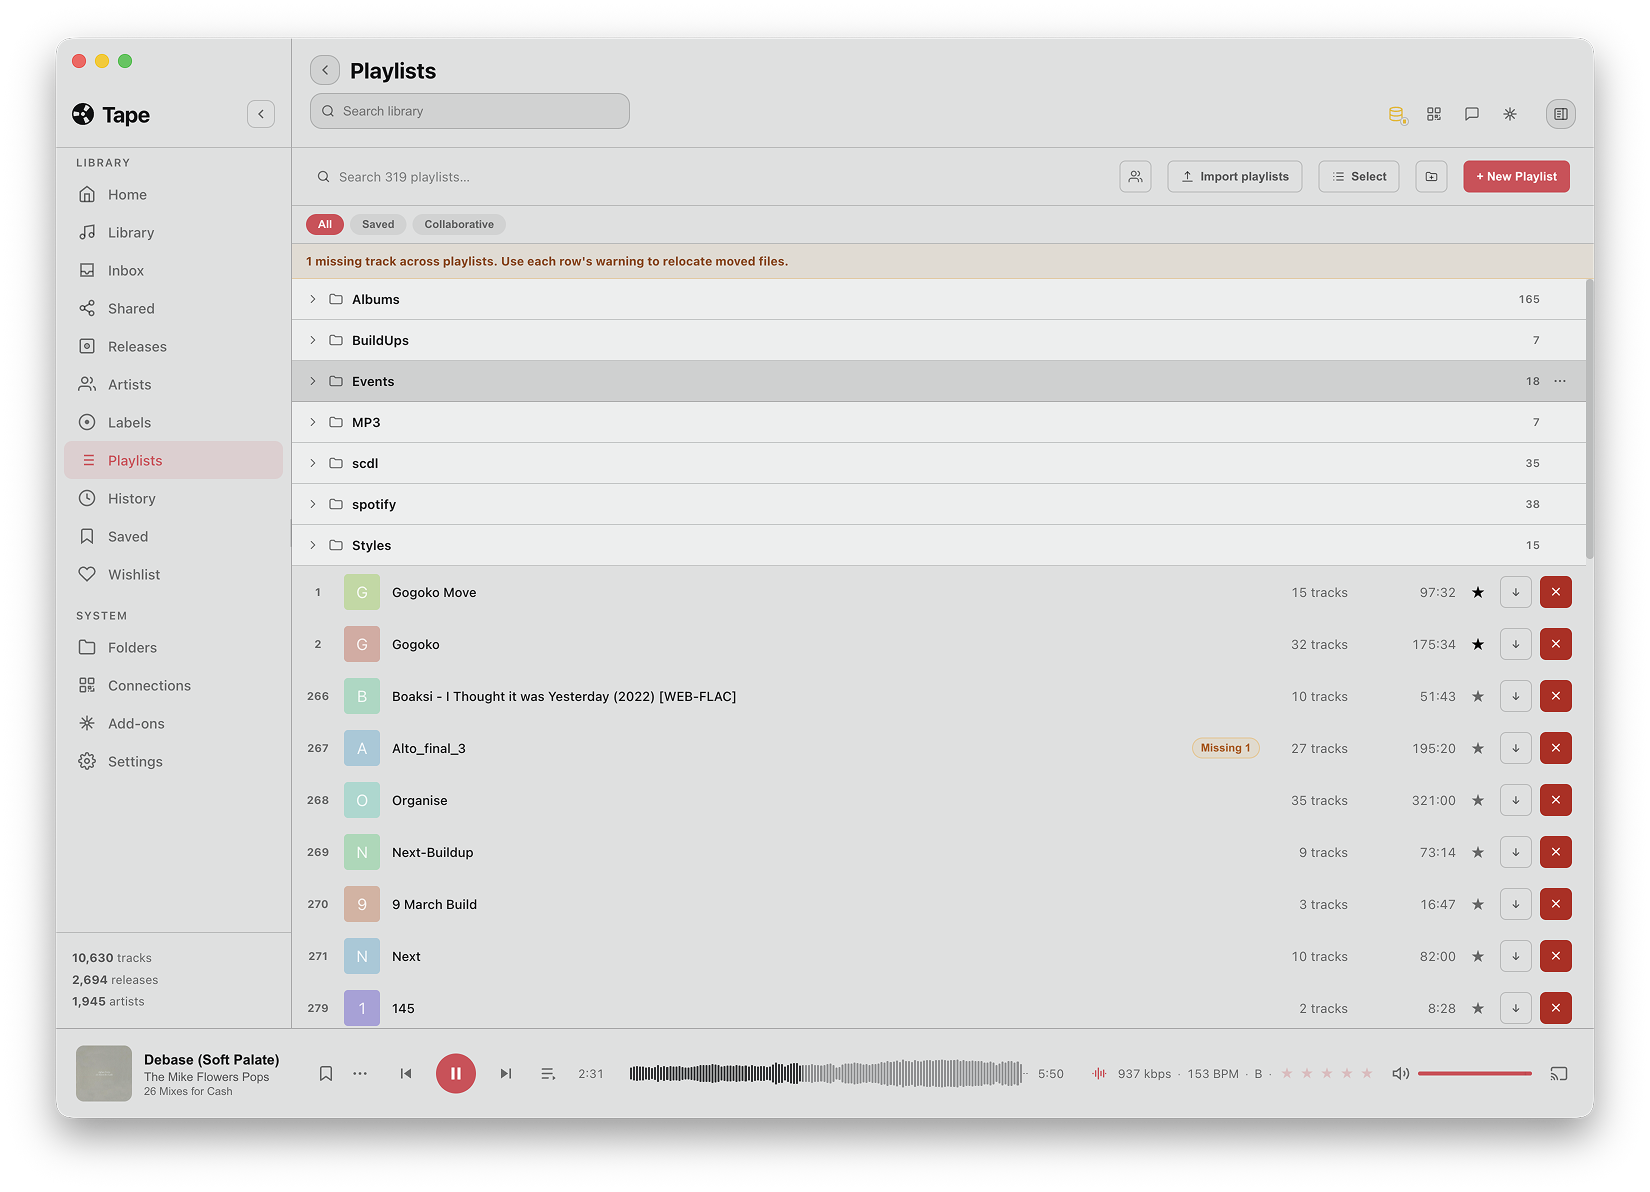
If Tape flags missing files, use Relocate missing tracks on the playlist or the supported track relocation action. Select the correct folder or file, review candidates and check the result: relocated, skipped and still missing. A relocate inside Tape does not repair Rekordbox's own database.
For an entire moved source root, use the folder relocation flow instead of repairing every playlist entry separately.
Export and drag files
Use the playlist's available export action to create a list for another player. On Desktop, supported local playlist/track drags can hand real files to Finder, Explorer or a DJ app. Keep the source files available when the receiving app imports the result.
An M3U/list export or a file drag is not a Rekordbox USB/device-library export. Do not assume it writes performance cues, beat grids or a hardware-ready USB library. Remote tracks can require a supported import into your hub before a file export is available; review the confirmation and any blocked-track explanation.
If an import looks empty
Check that the input is the supported local export, its referenced files exist, and the proposed roots were accepted. A successful parse can still contain missing paths. Preserve your existing playlists and fix paths before considering any database recovery.